
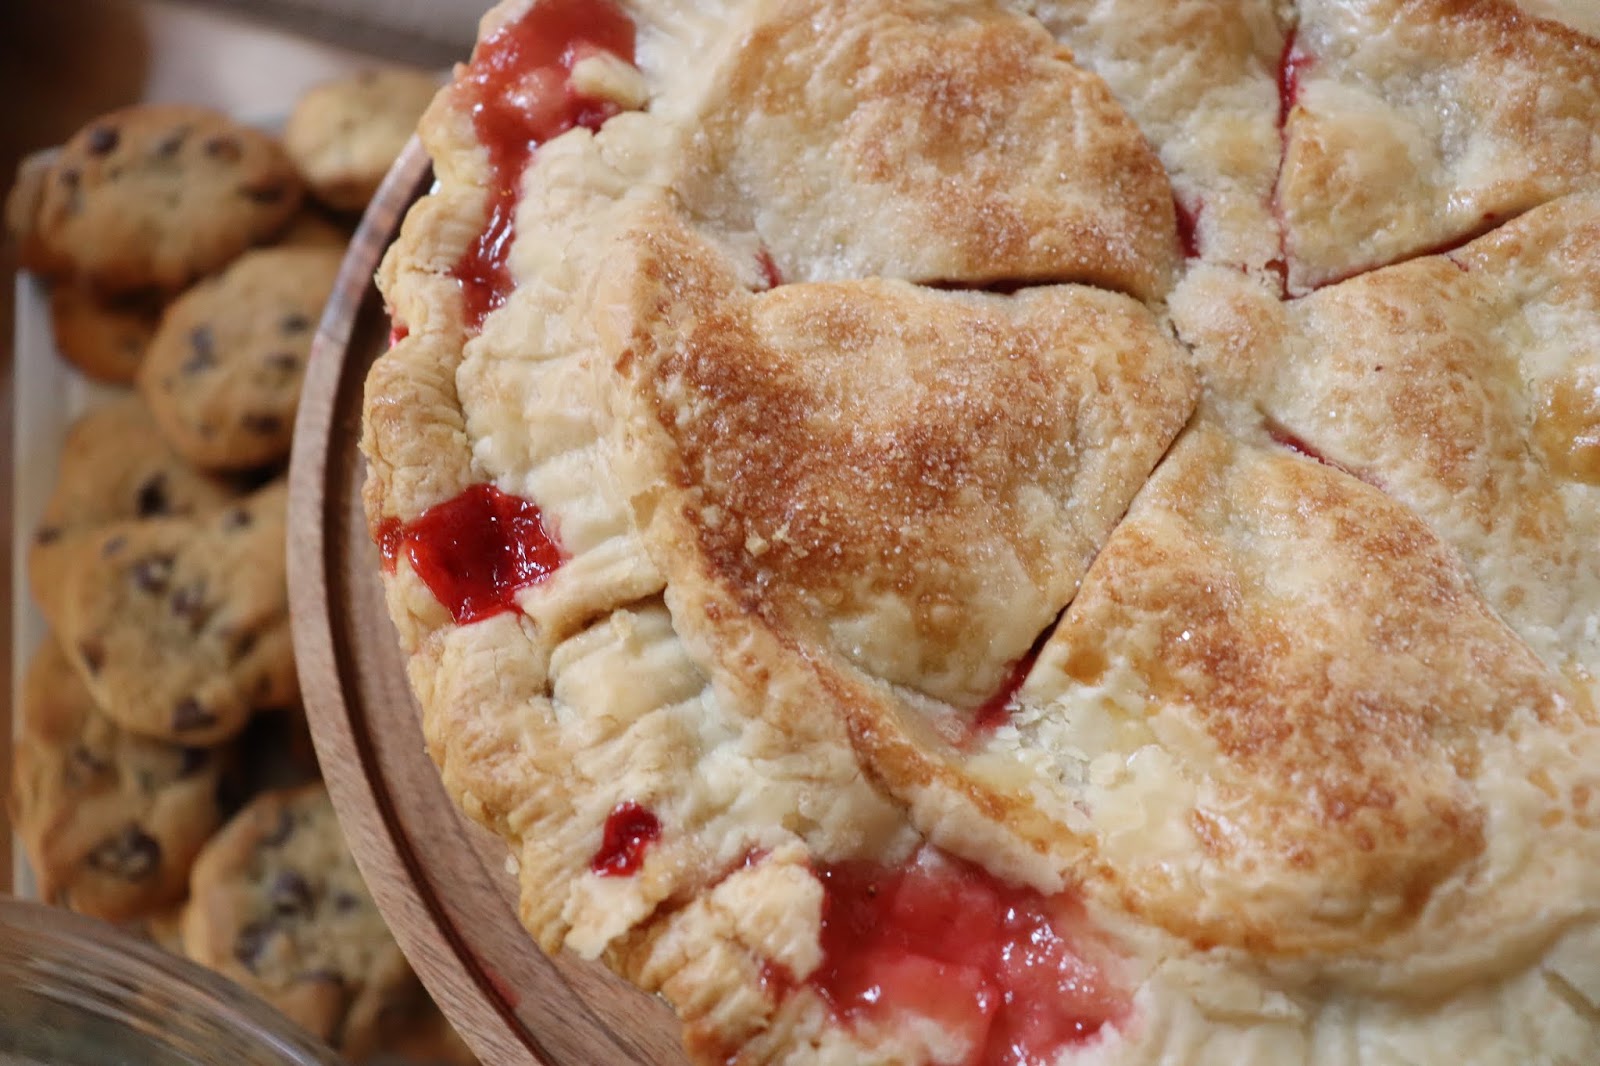
I had another post planned for today BUT we had friends over last night and we were having WAY too much fun which means WAY too little time for me to finish that post so I'm throwing it back to 2016 when I shared this recipe for strawberry pie (which I made yesterday to share with friends at dinner!).

This is a SUPER basic recipe that I've made for years.
Here's what you'll need...
- Two 9" pie crusts
- 5 cups (I usually use a little more) quartered strawberries OR 2/12 cups strawberries and 2 1/2 cups rhubarb if you can find it
- 3/4 cups sugar
- 1/4 tsp salt
- 1/3 cup flour

This is more strawberries than what I used in the recipe... I sliced up about 2 lbs and the rest I quartered for snacks :)

I started making this back when I had time to actually write out recipes and laminate them. hahaha


The recipe calls for 5 cups of sliced fruit, I typically use more. You don't have to be exact, I promise!

Once all the fruit is sliced, throw in 3/4 cups sugar...

... 1/4 teaspoon salt...

... and 1/3 cups flour.

Mix it all up until it's coated (don't over mix it... just kind of toss it all together.)

I know lots of people take pride in making their own pie crusts... I'm not one of those people. I've never found them to be worth the time and effort, but that's just me. I buy the deep dish pie crusts from our local grocery store and they are GREAT!
Pour the filling into one of the pie crusts (I pull them out of the freezer while I'm chopping strawberries so they're slightly thawed by the time I'm ready to fill them).

Take the second crust and plop it on top. It will look awful, but it will be fine. Promise.

I pinch the edges together to seal it and then cut slits in the top.
Here's where the magic happens with the store bought crust, I rub some milk all over the top and then sprinkle sugar on top. It makes the crust taste homemade :)

Cover the edges of the pie with foil and place the pie on a foil covered baking sheet. The pie might ooze a bit and the foil will prevent it from sticking on your baking sheet.

Bake the pie at 375 degrees for 25 minutes and then pull the foil off the edges and bake it for an additional 25-30 minutes. Let it cool and then refrigerate. I prefer my fruit pies to have overnight to set... but as long as you let it cool completely and refrigerate for a while it will totally be fine. It may be a little more "cobblerish" when you cut it, but it will taste just as good :)
If you try out this pie I'd love to hear what you think and don't forget that you can find all my recipe posts HERE.
Happy Thursday, friends!
I made this pie last year and it was AMAZING!
ReplyDeleteI’m going to use this same recipe and swap the strawberries for the blueberries we just picked ... I’ll report back!!
oh YAY!!! Let me know what you think!
DeleteAndrea,
DeleteIt was delicious! I made it over the weekend and sadly forgot to take a picture to share with you !
I’m going to try it with Raspberries next!!!
Thank you again for posting 😃
I've made this several times since you posted it a few years ago and it's always a big hit! In fact, several girls in our Sunday School class have asked for the recipe so I send them to your post. It's always a fan favorite ; )
ReplyDeleteSo glad you've enjoyed it!
DeleteI use your recipe every spring when we go strawberry picking. Delicious!!!
ReplyDeleteThat makes me so happy!!!
DeleteLooks so yummy and easy! Just wanted to let you know that it doesn't look like the recipe link is working :)
ReplyDeleteI just fixed it! Thanks so much for letting me know!
Delete